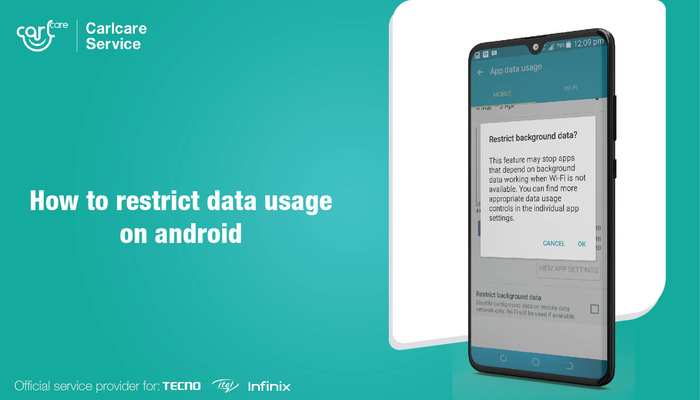
Whether it’s downloading, uploading, or even scrolling through social media- all these activities bank on the majority of your data usage. We wind up using significantly more data than necessary while using our regular apps on the go for silly reasons, and our data packs expire in just a few days. So the question is, how to restrict data usage on Android?
Data usage can be curbed if you’re mindful of where you’re using it and are finding ways to conduct all your activities with minimal data. We have found some easy solutions through which you can navigate around Android data usage settings.
How to restrict background data
Even after you’ve shut down most outlets of excess data usage, you still keep wondering; “Why is my Android phone using so much data?” Then you still have an important step to go through, which is restricting unwanted apps from running in the background and using up all your data. With Androids, it's possible that you restrict certain apps to data and the rest should be off data.
The following steps are:
- Settings
- Wireless & Networks option
- Data usage
- Network Access
- Check and mark the apps you don't want to run on data, accordingly.
How to restrict data usage on Android by setting limits?
It is always said that it's best to enjoy things to a limit and not go overboard with your usage. Similarly, not maxing out on your data is essential and having your phone warn you about it, can come in very handy. But how can you even restrict foreground data on Android and set a limit?
- Settings
- Wireless & Networks option
- Data usage
- Data warning and limit
- App data usage cycle: set the cycle date and data usage restriction for whichever app
- Once you’ve hit the limit for that period, it will automatically switch off your data.
This is the best way to limit using data and keeping yourself away from the screen too.
Data Warning
A toggle on your screen, similar to the above-mentioned options, will allow you to turn on warnings to indicate how much data you've utilized over time at intervals you choose. You can change these limits whenever you want to get the most out of this feature. When you feel like you've regained control and no longer require it, turn it off.
Control Mobile Data
We don't need mobile data as often as we used to because of the accessibility of public wifi around us and in our homes. We can switch between the two to keep our usage to a minimum and make the most of our wifi access. As a result, it is recommended that you turn off mobile data fully when using wifi so that it does not operate in the background and drain you out of your data pack.
How to restrict data usage on Android, by curbing the use of mobile data:
-
Through control center
- Swipe down
- Tap on the mobile data button
- Toggle with that button to turn it on and off.
-
Through the settings app
- Settings
- Wireless & Networks option
- Cellular data- switch it on or off.
Auto-sync
Your Android device automatically syncs all your data with your Google account at any given instance. When this is running consistently in the background, whether your phone is on Wi-Fi or on cellular data, it is ought to consume data. So how to reduce data usage on Android via auto-sync?
- Settings
- Accounts and backup/Cloud and accounts/Data sync
- It will display a list of accounts associated with your device or the only google account you may be using.
- Switch the toggle off for Auto-sync.
You can proceed to manually sync your data whenever you want, under wifi to prevent unnecessary data consumption.
Update on Wifi
The use of data while upgrading apps in the background is another important source of data drain. The majority of these sneaky little actions go place behind the scenes, and you've lost a few gigabytes as a result.
Follow the given steps to restrict it:
- Open the play store
- Spot your profile on the top and open it
- Locate settings
- Network preferences
- Auto-update apps
- Choose “update on WiFi”
And that’s how you’ve mastered the art of “how to restrict data usage on Android”. Go ahead and spend minimal data while surfing on the web and find smarter ways to get around it.


