Want to get rid of ads completely on your device? You probably don’t need a third-party app or rooting. Here are the easiest ways to block ads on Android
Ads may not only ruin your browsing experience, they can suck up your mobile data, consume more of your resources, and create confusion while trying to get serious with what you’re studying on the internet. Meanwhile, you can’t blame those advertisements and their advertisers since they’re apparently the only way to support and keep creators active for doing the great jobs you see online.
And while some apps and websites feature premium versions to help you get an ad-free experience, some just don’t offer such a feature - leaving you to continue viewing the ads or get rid of them on your own.
Sincerely, you shouldn’t turn off ads on your phone - to help creators earn - if it’s not over intrusive on your device. But if it’s getting out of hand, we can help.
Below are the ways to turn of ads on your Android phone, Box, TV, and your home network.
Block Ads with Private DNS on Android 9 Pie or later
If you’re running Android version 9, 10, 11, or later on your device, one of the best, underrated features you’ve been ignoring all this while is the Private DNS feature. Yes, you see it under the Network Settings now and then but you’ve not taken cognizance of it.
Private DNS on Android lets you connect to various DNS servers on your Android phones easily. And in the case of blocking ads on your device, connecting to an ad-blocking Private DNS server can keep everything on your device clean from ads, without the need of a VPN or rooting your device. And, of course, that makes it the best ad blocker for Android phones since you don’t need to install an app that keeps running in the background. And why some ad-blocker apps require rooting or premium subscription to work efficiently, Private DNS is completely free.
Here’s how to set up Private DNS to block ads on your device: the steps may vary based on your Android version or skin. But the best way to go about it is to search for “Private DNS” in the Settings app.
- Open the Settings app
- Tap Network & Internet
- Select Private DNS
- Click on Private DNS provider hostname.
- Enter any of the following hostnames into the text box
- dns.adguard.com (for normal ad blocking by Adguard)
- dns-family.adguard.com (for adblocking and adult contents filter)
- Tap Save when you’re done.
Try reconnecting to the internet after setting the Private DNS to start the system-wide ad blocker on your device. Some apps may require you to restart them before they stop showing ads, too. You may restart your device.
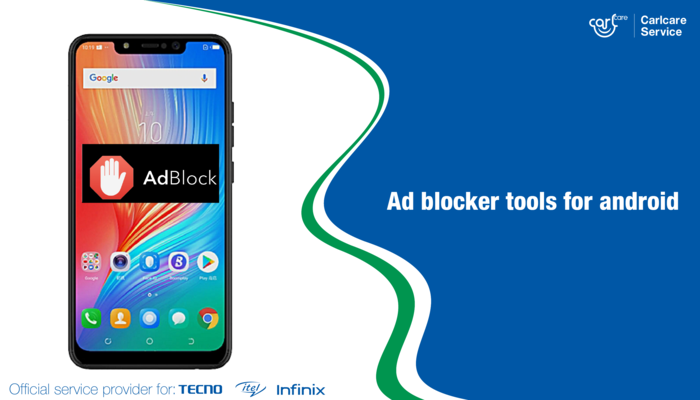
Block ads with Adblocker apps on Android and Android Box
Another way to block ads on Android is by using Adblocker apps. This is usually not the easiest way to go, but if you want more tweaks, or you’re running on Android 8 Oreo or below, there are plenty of apps that can help you block ads on Android!
But the part of these apps, which might be a deal-breaker for you, is that some of them need root access to do their job efficiently. And if your device is not rooted, they’ll create a VPN service, which again, might not be battery-friendly in most cases. But those things are minor things you can get over, especially when the ads and pop-ups are getting on your nerves.
Best Adblocker apps for Android
As said earlier, there are many Ad blocker apps out there that do their job quite well and offer some unique features too. So, it’s left for you to choose the one that works best for so. You can test out the following ones:
- Adblock Plus
- AdGuard
- AdAway
- Blockade
- DNS66, and more.
Most of these apps are not available on the Play Store due to some reasons, but you can always grab them from their official website or third-party app stores. Again, they work best on rooted devices, but they’ll create a VPN if your device is not rooted.
You can also use these Ad blocker apps on your Android Box or TV, but it requires some more technical steps since the apps are not on the Play Store. To get that done, follow the steps below.
- You’Ll need to first download the APK file of your preferred ad blocker app, then copy it to a USB drive.
- After that, you need to download a File Manager app on your Android Box from the Play Store.
- Attach the USB drive to your Android Box and open the File Manager app you downloaded.
- Locate the APK file you downloaded earlier and install it manually. You may need to allow installable from an unknown source during the process.
- When the ad blocker is installed, launch and connect it to start blocking ads on your Android Box.
Block Ads with Ad-blocking DNS servers on your router
If you’re searching for ‘Adblocker for Android Box’ or other Android Smart TVs, the best way to go about it is setting up an ad-blocking DNS server over your router. Basically, this will block ads on every device connected to the router. And since you’ll need to connect the Android Box to a Wi-Fi network (router) anyway, it makes sense to block ads on the entire network.
To make it work, we’ll be using the popular AdGuard DNS server, which allows you to block ads, pop-ups, and others on your router.
- Make sure your computer is connected to the router
- Open a new tab on your browser
- Into the address bar, enter the IP address of your router and hit You should find this on the label of your router. If not, use the general IP address: 192.168.0.1 or 192.168.1.1.
- You’ll be asked to enter your login details to sign in to the router. Provide it and proceed to the next page.
- On the router’s configuration page, go to Network > Advanced > DNS Server. The steps may vary on your router. Just look for the DNS server settings there.
- You may take a screenshot of the existing DNS server settings, in case you need to revert your changes later.
- After that, replace the existing DNS server with the given addresses from adguard-dns website
- Finally, Save the changes and reboot your router and the computer.